In the past 6 months I have had more conversations about deodorant than most people probably have their entire lives. What a strange topic of conversation. “Hey, have you tried this deodorant? Do your pits smell? Do you sweat excessively?” I’m a blast at parties, let me tell ya. Just so you know, I’m not completely crunchy. I’m maybe chewy with a crunchy center.
It started to bother me that anti-perspirants/deodorants actually do what they say. Our bodies are suppose to sweat. Is it awkward sometimes? Sure. But what is happening to our insides when we block up all that sweat? And what are these chemicals that we are applying to a very porous part of our bodies?
There are studies saying aluminum in deodorant is evil, and studies saying that it’s perfectly fine. Who do we believe? I think that if I can make a choice to eliminate the concern (and save some money) then that’s what I’m going to do.
You decide for yourself.
To help I have broken down the ingredients for a popular anti-perspirant/deodorant and also included my recipe for a homemade deodorant that is simple to make, and of course inexpensive.
Ingredients in Secret Original Invisible Solid
- Aluminum Zirconium Trichlorohydrex Gly: There are several different types of aluminum used in different brands. They block the pores to reduce perspiration.
There is thought that the aluminum is linked breast cancer. I also wonder if the toxins being blocked in the body could be linked to this (I have not been able to find a study stating one way or the other). There is also thought that the aluminum absorbed into the skin is linked to Alzheimer’s disease. - Cyclopentasiloxane: A skin conditioner.
One or more animal studies have shown tumor formation at moderate doses. Has also shown to be possible endocrine disruption, neurotoxicity, and an environmental toxin. - Stearyl Alcohol: An emulsifying agent.
Possible skin irritant, environment toxin. - C12-15 Alkyl Benzoate: Skin-conditioning agent.
Possible environment toxin. - PPG-14 Butyl Ether: Skin-conditioning agent.
- Hydrogenated Castor Oil: Skin-conditioning agent.
- Petrolatum: Skin-conditioning agent.
Considered to be toxic and harmful to humans. - Phenyl Trimethicone: Skin-conditioning agent.
- Talc: Absorbent.
Has been linked to different types of cancer. - Cyclodextrin: Absorbent.
- Fragrance: To make us smell good.
The FDA allows this on the product label to represent an undisclosed mixture of various chemicals and ingredients. They have been associated with allergies, dermatitis, respiratory problems and possible effects on the reproductive system. - Mineral Oil: Skin-conditioning agent.
Possible human immune system toxicant or allergen. - Behenyl Alcohol: Binder.
Now you might be thinking, “This chic has lost her mind. There is no way I’m going to stop using my store-bought deodorant.” And that’s cool.
Or you might be thinking, “What else can I do?” Well, this is the recipe my husband and I have been using for several months now (we thought it best to experiment with this together) and we have no intention of going back.
Some things I want to be upfront about:
- I first made some with benzonite clay, but I felt like it was making me stinky, so I made some without. It was better, and then shortly after I received a notification saying that the kind I had purchased had been contaminated with lead and to throw it out (I was refunded). So make sure you research where your stuff is coming from.
- I also used tea tree oil at first. It got to where I couldn’t tell if I was stinky, or if it was the oil. That doesn’t work for me, so I switched to lavender and haven’t had any problem since.
- I used an old deodorant container to hold my new stuff. I discovered there were holes in the bottom after I scraped out the old stuff, so I put some masking tape in the bottom so the new stuff wouldn’t pour out the bottom.
- This deodorant is really only good for a day. Max. So if you are not planning on showering every day, then you at least have to wash your pits. Please.
- I have not been able to tell a difference in my perspiration. Of course, summer is just beginning.
- One day I saw a friend while I was out running, and I ran up to hug her. We were both sweaty, so she didn’t mind. She actually told me I smelled good. True story.
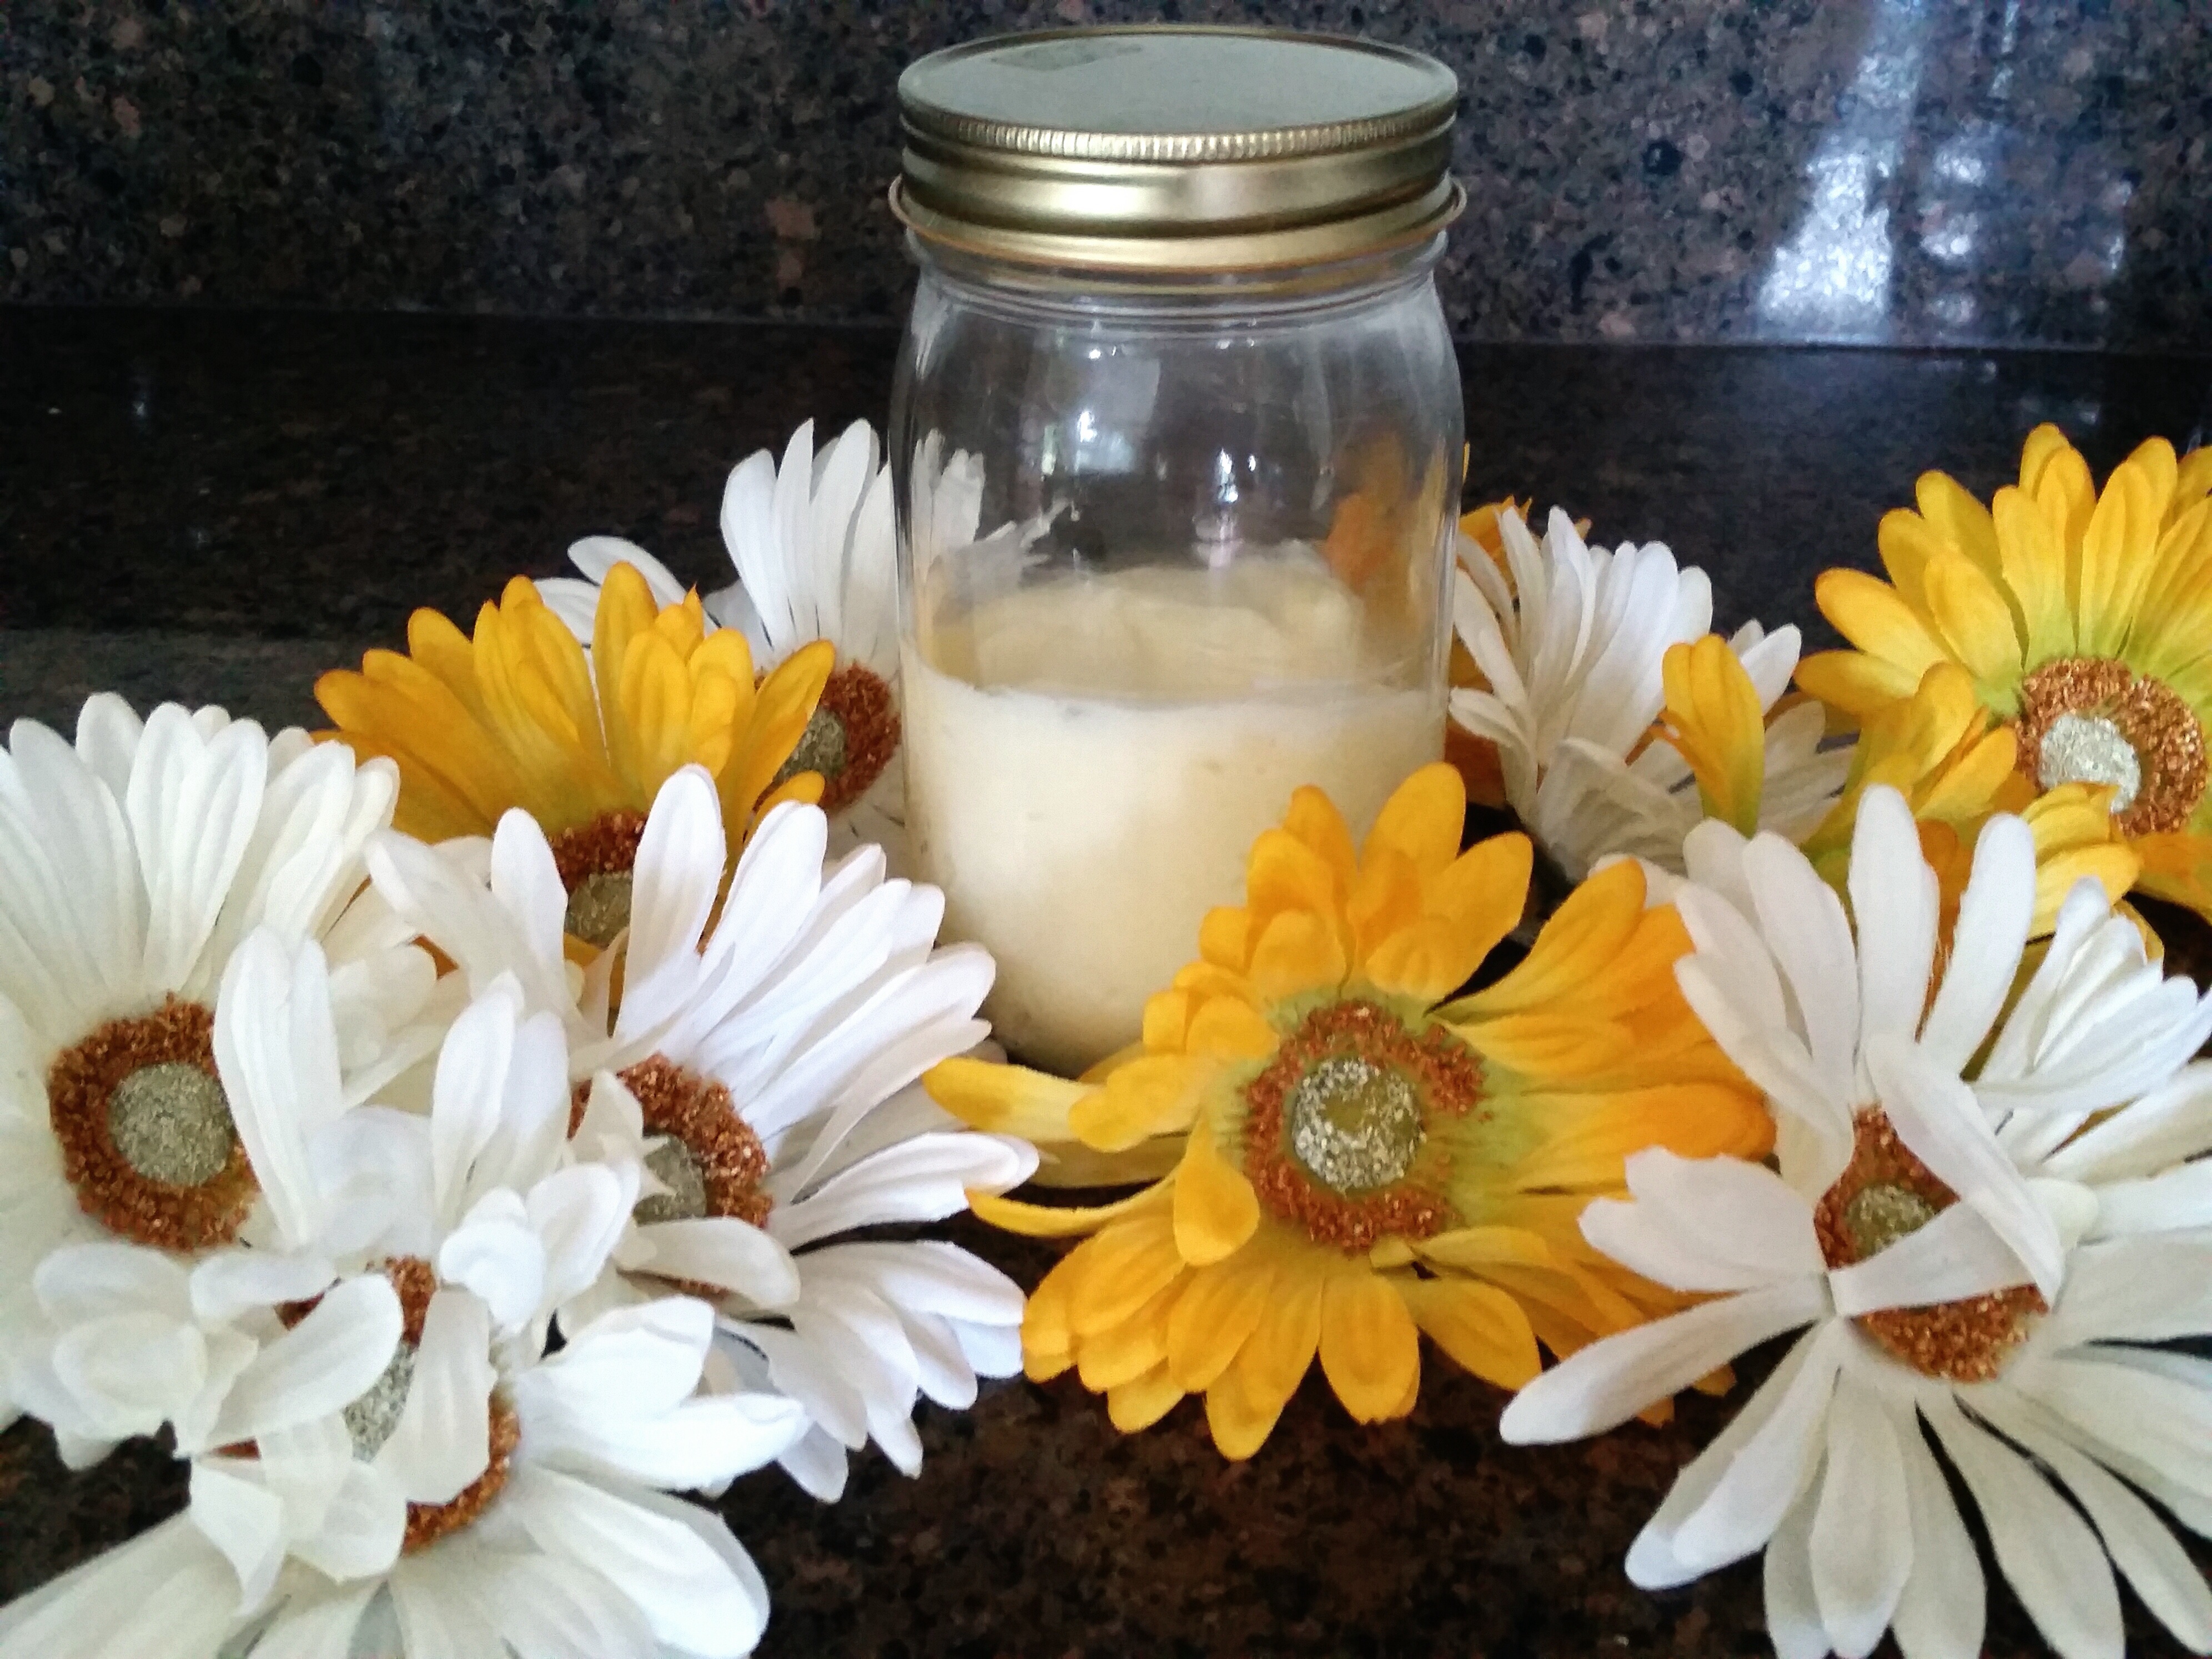
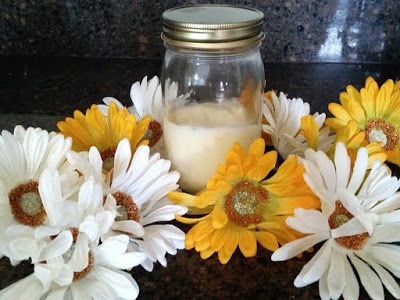
Simple Homemade Deodorant
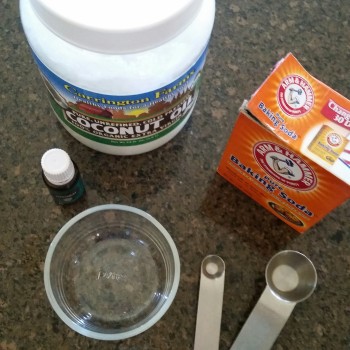
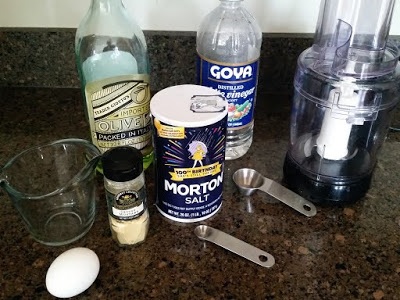
Ingredients and Price Breakdown
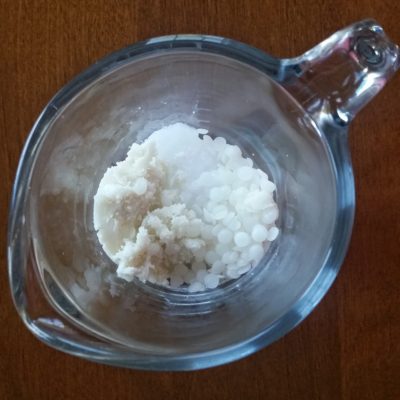
- 1 Tb Coconut oil $0.14
- 1 Tb Shea butter $0.47
- 1 Tb Beeswax $0.22
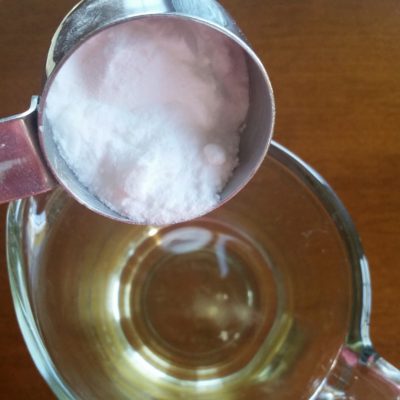
- 1.5 tsp Baking soda $0.01
- 1.5 tsp Arrowroot powder $0.06
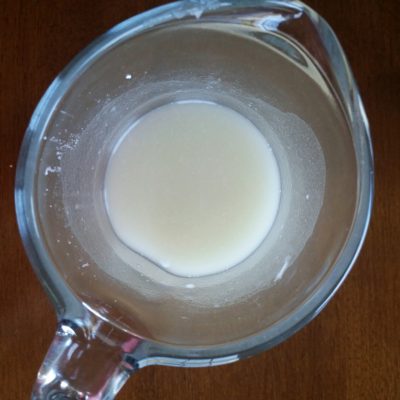
- 4 drops Lavender essential oil $0.13
Total: $1.03 for approximately 2 oz.
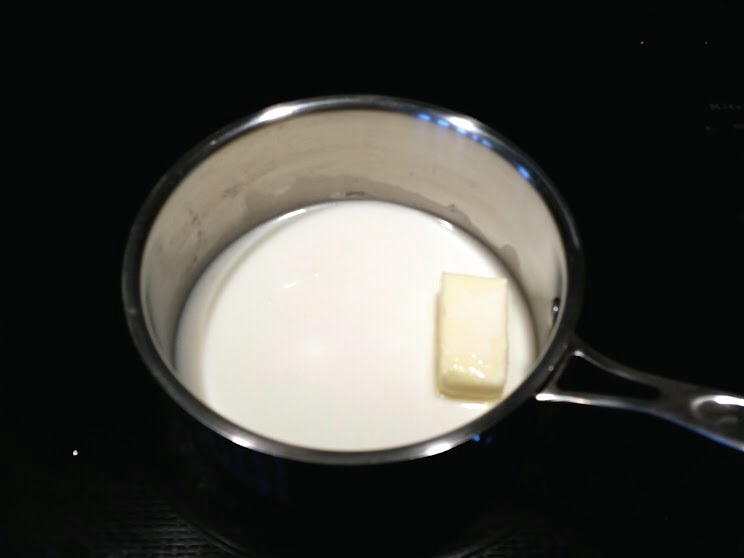
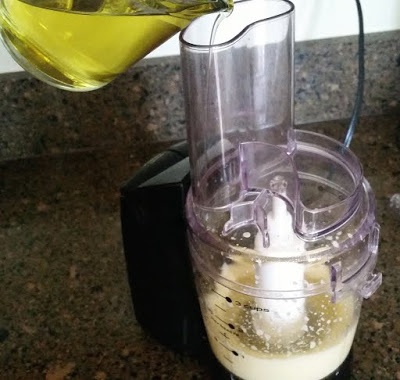
Step 1:
Place coconut oil, shea butter, and beeswax in either a pot to melt on the stove, or in a glass dish to melt in the microwave. It takes about a minute to melt in the microwave. The beeswax is last to melt.
Step 2:
Add baking soda and arrowroot powder.
Step 3:
Stir and add essential oil.
Step 4:
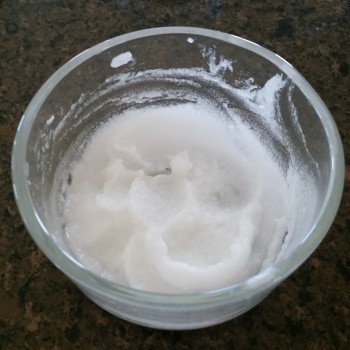
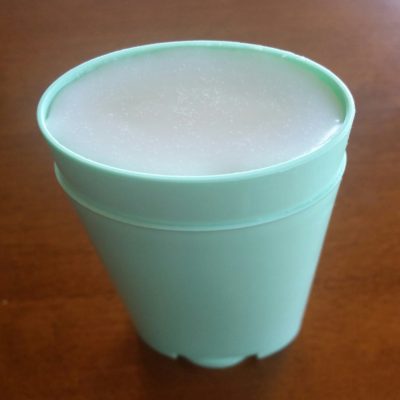
Pour into the container. Be sure to have the container ready and close by. It will start to solidify quickly!!
Let me know what you think!
Want to try this later? Then Pin it!!